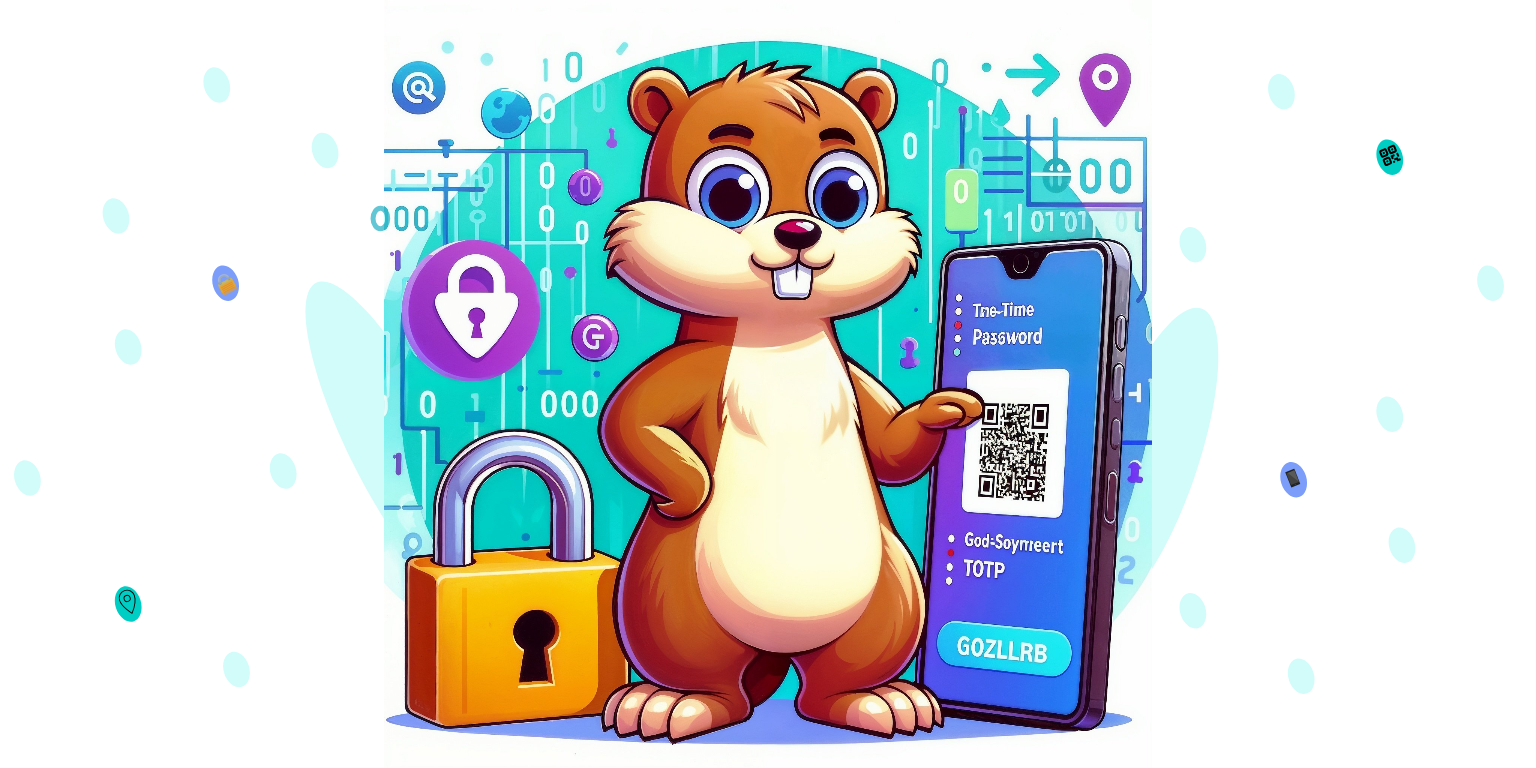
Thinking of defense mechanisms is essential to be one step ahead of cybercriminals. In this post, we’ll explore TOTP and see how easy it is to add an extra layer of security to your Go apps by implementing multi-factor authentication.
When it comes to handling sensitive data, security in our applications should be one of the most important aspects to keep in mind. Therefore, we can find common practices such as encouraging users to have strong passwords when creating an account to enter an application. While users should protect their data, having a strong password does not ensure that your account cannot be hacked. No matter who you are, we are all prone to suffering a cyber attack. For this reason, the burden of protecting information should not fall exclusively on our users.
There are different methods to improve the security of an application. One of them is multi-factor authentication. To enter an application, it is not enough for users to give us a username and password to verify their identity. We ask for more data to validate this person’s identity.
In that sense, an authentication factor, corresponds to data we need to confirm the user’s identity when trying to access our application. Some common factors are:
- Something you know - Like an email and password.
- Something you have - Like a smartphone.
- Something of your own - Like your fingerprint, voice or face for recognition.[1]
This time, we will use the first two items above as authentication factors. Thus, our implementation will be a two-factor authentication (2FA). For that, we will use a mechanism known as TOTP.
What is TOTP and how does it work?
TOTP stands for Time-based One Time Password (or Passcode). As its name indicates, we will have a password or code to be used only once. This code is generated by an algorithm that takes two inputs: A secret key and the Unix Time [2]. Since the algorithm uses a form of symmetric key cryptography, by sharing the secret key, both the client and the server can generate the code independently.
Unlike static passwords, the code generated by the algorithm changes every certain period between 30 and 90 seconds, which makes it harder for hackers to access our information. Let’s see what the flow to enter an application using TOTP looks like. We can divide it into two phases:

As a first step, when a user enters the application, we verify if a secret key is associated with it. If not, we generate the secret key and assign it to the user completing the registration phase. For the following access attempts, we will do the validations to enter our application using TOTP.

Let’s get started!
Now that you have a better understanding of the flow of a 2-factor authentication using TOTP. Let’s get down to business by implementing this mechanism in a Go application. Assuming you have Go installed, make sure to follow the steps below:
-
Clone the project with the starter code. We’ve provided you with the initial workflow to make it easier to implement TOTP. You can find it in the branch “initial.”
-
Install LeapKit. This is a collection of packages to help you build Go applications.
-
Install an authenticator app client. We used Authy (iOS) for this one, but feel free to use another option.
-
This project uses a third-party package for generating TOTP (Time-Based One-Time Passwords). Install it using the following command:
go get github.com/pquerna/otp -
To persist our data, we will use sqlite. On macOS, you don’t need to do anything to install sqlite. It’s preinstalled in all modern versions of macOS. So, if you’re using another OS make sure to install it.
The next step is to set up your dev environment:
-
Set up the project by running the following commands:
go mod download
go run ./cmd/setup
The
./cmd/setupcommand will download Tailwind CSS, create the database and run the migrations. -
At this point, we just need to use LeapKit’s dev command to start the application:
kit dev
Once the application is running it should be accessible locally at http://localhost:3001. Verify that everything works properly and feel free to explore the application. You can use these credentials to log in:
email: lgraham@gopher.co
pass: wawandco
As soon as you complete these steps, your Go environment will be ready for implementing TOTP.
Note: You don’t necessarily need to follow the instructions to review the final version of the implementation. The final and the initial branches are available in the repository, so you can choose the learning strategy that works best for you. However, we strongly recommend you follow along with the post so you don’t miss anything.
Exploring the project structure
Before going deeper into the TOTP implementation, let’s explore our initial code, starting with the project structure:
.
├── internal
│   ├── app.go
│   ├── routes.go
│   ├── services.go
│   ├── auth
│   │   ├── ...
│   │   ├── middleware.go
│   │   └── login.go
│   ├── models
│   │   └── user.go
│   └── users
│       ├── ...
│       └── service.go
│ ...
└──
Note: Some folders and files were omitted to focus on those more relevant to our implementation.
app.go
This is our entry point. We configure our server in that file by defining the session manager, the host and port variables, and the database connection. We also inject the services and routes that our app needs.
services.go
We decouple our application from implementation dependencies, using a technique known as dependency injection. For this example, we only have the user resource.
routes.go
In this file, we define all the routes of our application. Initially, we have two main groups:
The login routes consist of the handler functions to display the login form, validate the credentials, and log out.
r.HandleFunc("GET /login", auth.Index)
r.HandleFunc("POST /login", auth.Login)
r.HandleFunc("POST /logout", auth.Logout)
The logic to render the login form and validate the user credentials is inside the auth package. Here, let’s dig deeper into two files: middleware.go and login.go.
When a user submits the login form, we check if their credentials are correct by validating the information. In login.go we:
- Check if the user exists in the database.
- Check if their password is correct.
- If so, we save the login session.
To protect our routes, we have a middleware in middleware.go that checks if the user exists and if they have an active session before we access a route. If that’s not the case, it will render the 401 (unauthorized) view.
On the other hand, we have the routes that we want to protect. Our main content is just a page that displays a list of users. These users are intentionally hardcoded to focus our efforts on the authentication part.
r.Group("/", func(r server.Router) {
   r.Use(auth.Middleware())
   r.HandleFunc("GET /{$}", users.Index)
   r.HandleFunc("GET /users", users.Index)
})
Now, let’s take a look at our user resource. To handle the user entity, we’ve defined a user model in the models package with the following properties:
type User struct {
	ID       uuid.UUID      `json:"id" db:"id"`
	Email    string         `json:"email" db:"email"`
	Password sql.NullString `json:"password" db:"password"`
	Secret   sql.NullString `json:"secret" db:"secret"`
}

type UsersService interface {
    Find(string) (User, error)
}
As you can see, it’s simple. It only has the necessary fields to authenticate the users. We also have an interface that defines the contract of our service’s method.
Finally, the implementation of the user service is in users/service.go. Here, the Find method queries the database to fetch a user by email.
So far, our application follows the flow below:

As we mentioned, this is not enough to protect our applications. Let’s level up our security by adding the second factor.
Implementing TOTP
To begin with, we will follow the steps we saw earlier in the diagrams to implement TOTP in the application. Here’s the checklist:
- ✅ Login process.
- Generate secret key and display QR code.
- Validate code.
- Associate secret key with user.
- Adjust access workflow.
- Set up an authenticator app client.
Since we already have the login process implemented (displaying the login form and validating the user credentials), let’s address the missing items.
Making our life easier
As a pre-step, let’s follow a strategy to make our life easier. The idea is to keep the logic of our workflow away from implementation details. The handler should behave the same regardless of how we generate the secret key or the QR code. With that in mind, we won’t need to update the handler if we use another package in the future.
To achieve the above, let’s create a new package that will hold all the logic regarding TOTP.
Here, we define the contract that the implementations need to follow:
totp/authenticator.go
package totp

type Authenticator interface {
	GenerateQR() (string, error)
	GenerateSecretKey(string) (string, error)
	Validate(string, string) bool
}
The actual implementation details will live in totp/service.go
package totp

// imports

const issuer = "Wawandco"

type service struct {
	key *otp.Key
}

func NewService() Authenticator {
	return &service{}
}

func (s *service) GenerateSecretKey(email string) (string, error) {}

func (s *service) GenerateQR() (string, error) {}

func (s *service) Validate(code, secret string) bool {}
In the code above, we create our TOTP service with the methods needed to meet our Authenticator interface. For those methods, it’s time to use the package we chose:
func (s *service) GenerateSecretKey(email string) (string, error) {
	key, err := totp.Generate(totp.GenerateOpts{
		Issuer:      issuer,
		AccountName: email,
	})
	if err != nil {
		slog.Error(fmt.Sprintf("error generating secret key: %v", err))
		return "", err
	}

	s.key = key

	return key.Secret(), nil
}
We provide some information like the issuer and account name to generate the secret key. We can pass other options to modify, for example, the code’s validity period, the secret’s size, the algorithm to generate the otp, etc. We also store the *otp.Key returned to generate the QR code later:
Note: The Package uses the SHA-1 algorithm as the default algorithm to generate the one-time passcode.
func (s *service) GenerateQR() (string, error) {
	// Convert info key into a PNG
	var buf bytes.Buffer
	img, err := s.key.Image(150, 150)
	if err != nil {
		return "", nil
	}

	err = png.Encode(&buf, img)
	if err != nil {
		return "", err
	}

	return base64.StdEncoding.EncodeToString(buf.Bytes()), err
}

func (s *service) Validate(code, secret string) bool {
	return totp.Validate(code, secret)
}
The package provides a method to generate the QR code returned as type Image. We encode the image and convert it to a string. For that, the image src must meet the following format to display it correctly:
<img src="data:image/jpg;base64,<%= qr %>"
Finally, the validation method is self-explanatory. Under the hood, It compares the code from the client against the code generated by the server using the same secret key.
With the TOTP implementation details in place, it’s just a matter of organizing the authentication workflow.
Generate secret key and display QR code
Let’s take care of the routes and handlers to generate the secret key and display the QR. Inside the package auth create the following file:
authenticate.go
func Authenticate(w http.ResponseWriter, r *http.Request) {
	rw := render.FromCtx(r.Context())
	user := r.Context().Value("currentUser").(models.User)

	template := "auth/verify.html"

	if !user.Secret.Valid {
		authenticator := r.Context().Value("totp").(totp.Authenticator)
		secret, err := authenticator.GenerateSecretKey(user.Email)
		qr, err := authenticator.GenerateQR()

		template = "auth/setup.html"
		rw.Set("secret", secret)
		rw.Set("qr", qr)
	}

	rw.Render(template)
}
⚠️ Important: Error checks were omitted to simplify the content. You can look at the final version in the repository.
Then, inside the routes.go file, add the route and point it to the handler we just created:
r.HandleFunc("GET /authenticate", auth.Authenticate)
Let’s break down what’s happening there.
First, we retrieve the current user instance from the context. Later, as simple as that, we check if the user has a valid secret key inside authenticate.go. If that’s not the case, it means the user needs to register/set up the secret key in an authenticator app client, so we call our TOTP mechanism to:
- Generate the secret key passing the user’s email.
- Generate the QR code.
Then, we render the corresponding template. In this scenario, we render auth/setup.html with the QR code and the form to enter the code generated by the authenticator app client. Once the user has a secret key, we render only the verification form auth/verify.html.
Note: refer to the branch “final” to find the templates we used here.
Congratulations! We have our second check(Generating secret keys and displaying the QR code) ✅
Validate code
So far, we have a way to set up a second authentication factor. Now, we need a handler to verify the code provided by the users. Let’s add another handler and route.
routes.go
r.HandleFunc("POST /verify", auth.Verify)
verify.go
package auth

// imports

func Verify(w http.ResponseWriter, r *http.Request) {
	rw := render.FromCtx(r.Context())
	s := session.FromCtx(r.Context())
	user := r.Context().Value("currentUser").(models.User)
	authenticator := r.Context().Value("totp").(totp.Authenticator)

	r.ParseForm()

	template := "auth/setup.html"
	secret := r.FormValue("secret")
	qr := r.FormValue("qr")
	code := strings.Join(r.Form["code"], "")

	if user.Secret.Valid {
		secret = user.Secret.String
		template = "auth/verify.html"
	}

	valid := authenticator.Validate(code, secret)

	if !valid {
		rw.Set("qr", qr)
		rw.Set("secret", secret)
		rw.Set("toast", "❌ invalid code")

		rw.Render(template)
		return
	}

	if !user.Secret.Valid && secret != "" {
		usersService := r.Context().Value("users").(models.UsersService)
		usersService.SetSecret(user.Email, secret)
	}

	s.Values[SecondDoorKey] = true
	s.Save(r, w)

	http.Redirect(w, r, "/users", http.StatusSeeOther)
}
Again, let’s break down the code above to understand what’s happening there.
After parsing the form to access the form values, we check if the user has a secret key. This is similar to what we did on the authenticate handler. If the user doesn’t have a valid secret key, it means that they are setting up the authenticator app client, so we need to get the secret from the form. Otherwise, we get the secret key from the current user instance. This is true also for the templates: We switch them depending on the workflow.
Then, we validate the code using our authenticator service. We render a toast message so the user knows the code is invalid, or we continue the flow if the code is correct.
And just like that we have another check(Validating the code). ✅
Associate secret key with user
This is an easy task! To associate a secret key with a user, we must validate if the user doesn’t have one stored, and we check if the secret key value from the form is not empty before we update the user’s secret field.
Ultimately, please notice we saved a new session value inside the “SecondDoorKey” before redirecting to the “users” view. We will use this to control the access later.
With that in place, we can give ourselves one more check (Associate secret key with user.). ✅
Congratulations on making it this far! 🎉 We are two steps away from completing our checklist. At this point, we’ve already completed the registration and the validation phase from our diagrams. However, we still have a crucial step pending. We must protect our main routes through the security mechanisms we added.
Adjust access workflow
We must adjust our access workflow since we’re adding a second authentication factor. Right now, we have a middleware that gives access to users if they exist and have an active session. Let’s change that.
Instead of having one middleware responsible for checking if the user and its session exist, let’s create three different middlewares inside auth/middleware.go.
The following middleware will be responsible for checking the user’s login session. By splitting the responsibility, we can control the routes' accessibility more easily.
const FirstDoorKey = "LOGIN"
const SecondDoorKey = "TOTP"

func LoginMiddleware() func(http.Handler) http.Handler {
	return func(next http.Handler) http.Handler {
		return http.HandlerFunc(func(w http.ResponseWriter, r *http.Request) {
			slog.Info("LOGIN MW ---->")
			s := session.FromCtx(r.Context())
			rw := render.FromCtx(r.Context())

			if s == nil || s.Values[FirstDoorKey] == nil {
				rw.Render("auth/401.html")
				return
			}

			rw.Set("firstDoorOpen", true)

			slog.Info("<---- LOGIN MW")
			next.ServeHTTP(w, r)
		})
	}
}
The upcoming middleware will be in charge of checking if the user is authenticated. Here, we’re checking the session key we saved once we’ve validated the OTP in the verify handler.
func AuthenticatorMiddleware() func(http.Handler) http.Handler {
	return func(next http.Handler) http.Handler {
		return http.HandlerFunc(func(w http.ResponseWriter, r *http.Request) {
			slog.Info("AUTHENTICATION MW ---->")
			s := session.FromCtx(r.Context())
			rw := render.FromCtx(r.Context())

			if s == nil || s.Values[SecondDoorKey] == nil {
				rw.Render("auth/401.html")
				return
			}

			rw.Set("secondDoorOpen", true)

			slog.Info("<---- AUTHENTICATION MW")
			next.ServeHTTP(w, r)
		})
	}
}
As for the last middleware, its job consists of checking if the user exists. If the user is not in our database, we invalidate the session keys and render the 401 (unauthorized) view. Otherwise, we set the user in context.
func CurrentUserMiddleware() func(http.Handler) http.Handler {
	return func(next http.Handler) http.Handler {
		return http.HandlerFunc(func(w http.ResponseWriter, r *http.Request) {
			slog.Info("CURRENT USER MW ---->")
			s := session.FromCtx(r.Context())
			rw := render.FromCtx(r.Context())

			usersService := r.Context().Value("users").(models.UsersService)
			user, err := usersService.Find(s.Values[FirstDoorKey].(string))

			if err != nil {
				slog.Error(fmt.Sprintf("error loading user: %v", err))
				s.Values[FirstDoorKey] = nil
				s.Values[SecondDoorKey] = nil

				s.Save(r, w)

				rw.Set("firstDoorOpen", false)
				rw.Set("secondDoorOpen", false)

				rw.Render("auth/401.html")

				slog.Info("<---- CURRENT USER MW")
				next.ServeHTTP(w, r)
				return
			}

			ctx := context.WithValue(r.Context(), "currentUser", user)
			r = r.WithContext(ctx)

			rw.Set("currentUser", user)
			slog.Info("<---- CURRENT USER MW")
			next.ServeHTTP(w, r)
		})
	}
}
⚠️ Important: Error checks were omitted to simplify the content. You can look at the final version in the repository.
Now, we can wrap our routes inside the corresponding middlewares to allow accessing these views only if the user meets the validations. Let’s begin with the authenticate routes:
r.Group("/", func(r server.Router) {
	r.Use(auth.LoginMiddleware(), auth.CurrentUserMiddleware())
	r.HandleFunc("GET /authenticate", auth.Authenticate)
	r.HandleFunc("POST /verify", auth.Verify)
})
The routes above should be accessible if the user is logged in. We also use the current user middleware since we need the user information inside the handlers. Let’s do the same for our main routes:
r.Group("/", func(r server.Router) {
		r.Use(auth.LoginMiddleware(),auth.AuthenticatorMiddleware(), auth.CurrentUserMiddleware())
		r.HandleFunc("GET /{$}", users.Index)
		r.HandleFunc("GET /users", users.Index)
	})
There, we’re not only checking if the user is logged in, but we check if the user is authenticated to allow access. We do an additional check by using the current user middleware to check if the user exists whenever they try to access these routes.
We cannot finish the task without adjusting the current login handler to redirect the users to the “authenticate” route after all the successful validations:
func Login(w http.ResponseWriter, r *http.Request) {
	...

	s.Values[FirstDoorKey] = email

	s.Save(r, w)

	http.Redirect(w, r, "/authenticate", http.StatusSeeOther)
}
It’s official! There’s only one more step left (Adjust access workflow ✅)
At this point, we already have an application with a functional 2FA. We’ve completed almost all the items from the checklist, so the last step involves using an authenticator app and testing our implementation to confirm that everything works as expected.
Set up an authenticator app
As mentioned in the setup section, we used Authy (iOS) as the authenticator app client. This step could differ depending on your preference and the OS, but no need to worry! The process should be similar to the other applications out there.

That was quite a journey! We are finally ready to test our application. Don’t forget your check ✅
Closing Thoughts
Again, congratulations! 🎉 🎉 🎉 You’ve just reached the end! Let’s review the checklist to recap all we’ve done.
- ✅ Login process.
- ✅ Generate secret key and display QR code.
- ✅ Validate code.
- ✅ Associate secret key with user.
- ✅ Adjust access workflow.
- ✅ Set up an authenticator app client.
Now, you might think that this is the end of the road. However, there is more that we can improve to offer the best user experience. There are also some considerations we should keep in mind when using TOTP as a second authentication factor:
-
Backup Codes: Our current implementation only considers the happy path. But what would happen if the user lost their smartphone? They won’t be able to access the application, and that’s not a good experience. We must provide a way to recover the access offering, for example, some backup codes as a fallback option in case the authentication method is unavailable.
-
User Experience: You should always prioritize the user experience if you want to change the UI to fit your preferences. Design intuitive interfaces, provide clear instructions, and avoid adding too much friction to the authentication process so the user can smoothly access your application.
-
User Education: If the second authentication factor is an option for your users, you should encourage them to use it. Your users should know how important it is to set multiple methods to authenticate their identity to protect their data.
-
Extra Security: One of the benefits of TOTP is that we can leverage the extra layers of security that our smartphone can give us: locking the phone, setting a password to access the authenticator application, and even the authenticator app itself could have its internal security layers.
After understanding how the 2FA authentication using TOTP works, after exploring the flow that we should follow, the tools, and the considerations to accomplish it, from now on, you should be confident and ready to enhance the security of your Go applications. See you at the next one! 👋