Book a Free Call
No commitment required

In the realm of modern web development, simplicity, speed, and scalability are paramount. Go, with its efficient concurrency model and robust standard library, coupled with HTMX, a lightweight JavaScript library for AJAX iterations, CSS Transitions, WebSockets and server sent events directly in HTML, offers an excellent combination for building reactive web applications. In this post, we’ll walk through the process of developing a simple Tip Calculator application and deploying it with Docker on Render.
Before we delving further, let’s take a moment to introduce the Tip Calculator app that we’ll be deploying. This application is designed to calculate the total bill based on the total amount and selected tip percentage. With a focus on simplicity and functionality, this app serves as an excellent example of the power and simplicity of Go and HTMX in web development. This app will be composed of a simple interface for total amount and tip percentage, calculation logic for accurate total bill computation, and HTMX integration for dynamic updates.
With that in mind, let’s focus on putting the app together using Go & HTMX.
To dive into deployment, make sure we have the following:
The LeapKit template, available at github.com/leapkit/template, is designed to streamline the development and deployment of web applications using Go and HTMX, it also includes sqlite3 settings for data management, however, we will not use it on this example.
By leveraging this template, developers can benefit from a standardized project structure and pre-configured settings, reducing setup time and enhancing development efficiency.
To get started, run the following command to create the application:
$ go install rsc.io/tmp/gonew@latest
$ gonew github.com/leapkit/template@latest github.com/tip_calculator
After going to the app folder, run the following command to set up the application:
$ go mod download
$ go run ./cmd/setup

# Running the App
$ go run ./cmd/dev
In internal/home/index.html, let’s add a form to capture the Amount and Tip Percentage, seamlessly sending this information to /calculate via HTMX using the hx-get:
<div class="max-w-lg rounded bg-white overflow-hidden shadow-lg">
  <div id="total-amount" class="px-6 py-4">
    <div class="font-bold text-xl mb-3">Tip Calculator using Go / HTMX and the <br> 🎒🚀 LeapKit Template</div>
    <p class="text-gray-600 text-base mb-3">
      Calculate tips effortlessly! Enter the total amount and tip percentage to instantly compute the tip and total bill.
    </p>

    <form class="w-50" hx-get="/calculate-billing-amount" hx-target="#total-amount" hx-swap="beforeend" method="GET">
      <div class="flex justify-between items-end">
        <div class="flex flex-col w-full">
          <label for="Amount" class="text-base font-semibold leading-7 text-gray-900">Total Amount</label>
          <input required id="Amount" type="text" placeholder="$350" name="Amount" class="block w-full rounded-md border-0 py-1.5 px-2 text-gray-900 shadow-sm ring-1 ring-inset ring-gray-300 placeholder:text-gray-400 focus:ring-2 focus:ring-inset focus:ring-indigo-600 sm:text-sm sm:leading-6"/>
        </div>

        <div class="flex flex-col w-full mx-2">
          <label for="TipPercentage" class="text-base font-semibold leading-7 text-gray-900">Tip percentage</label>
          <input required id="TipPercentage" type="text" placeholder="18%" name="TipPercentage" class="block w-full rounded-md border-0 py-1.5 px-2 text-gray-900 shadow-sm ring-1 ring-inset ring-gray-300 placeholder:text-gray-400 focus:ring-2 focus:ring-inset focus:ring-indigo-600 sm:text-sm sm:leading-6"/>
        </div>

        <button type="submit" class="py-1.5 px-6 bg-green-500 text-white font-semibold rounded-lg shadow-md hover:bg-green-700 focus:outline-none focus:ring-2 focus:ring-green-400 focus:ring-opacity-75">Calculate</button>
      </div>
    </form>
  </div>

  <div class="px-6 pt-4 pb-2">
    <span class="inline-block bg-gray-200 rounded-full px-3 py-1 text-sm font-semibold text-gray-700 mr-2 mb-2">#go</span>
    <span class="inline-block bg-gray-200 rounded-full px-3 py-1 text-sm font-semibold text-gray-700 mr-2 mb-2">#htmx</span>
    <span class="inline-block bg-gray-200 rounded-full px-3 py-1 text-sm font-semibold text-gray-700 mr-2 mb-2">#leapkit</span>
  </div>
</div>
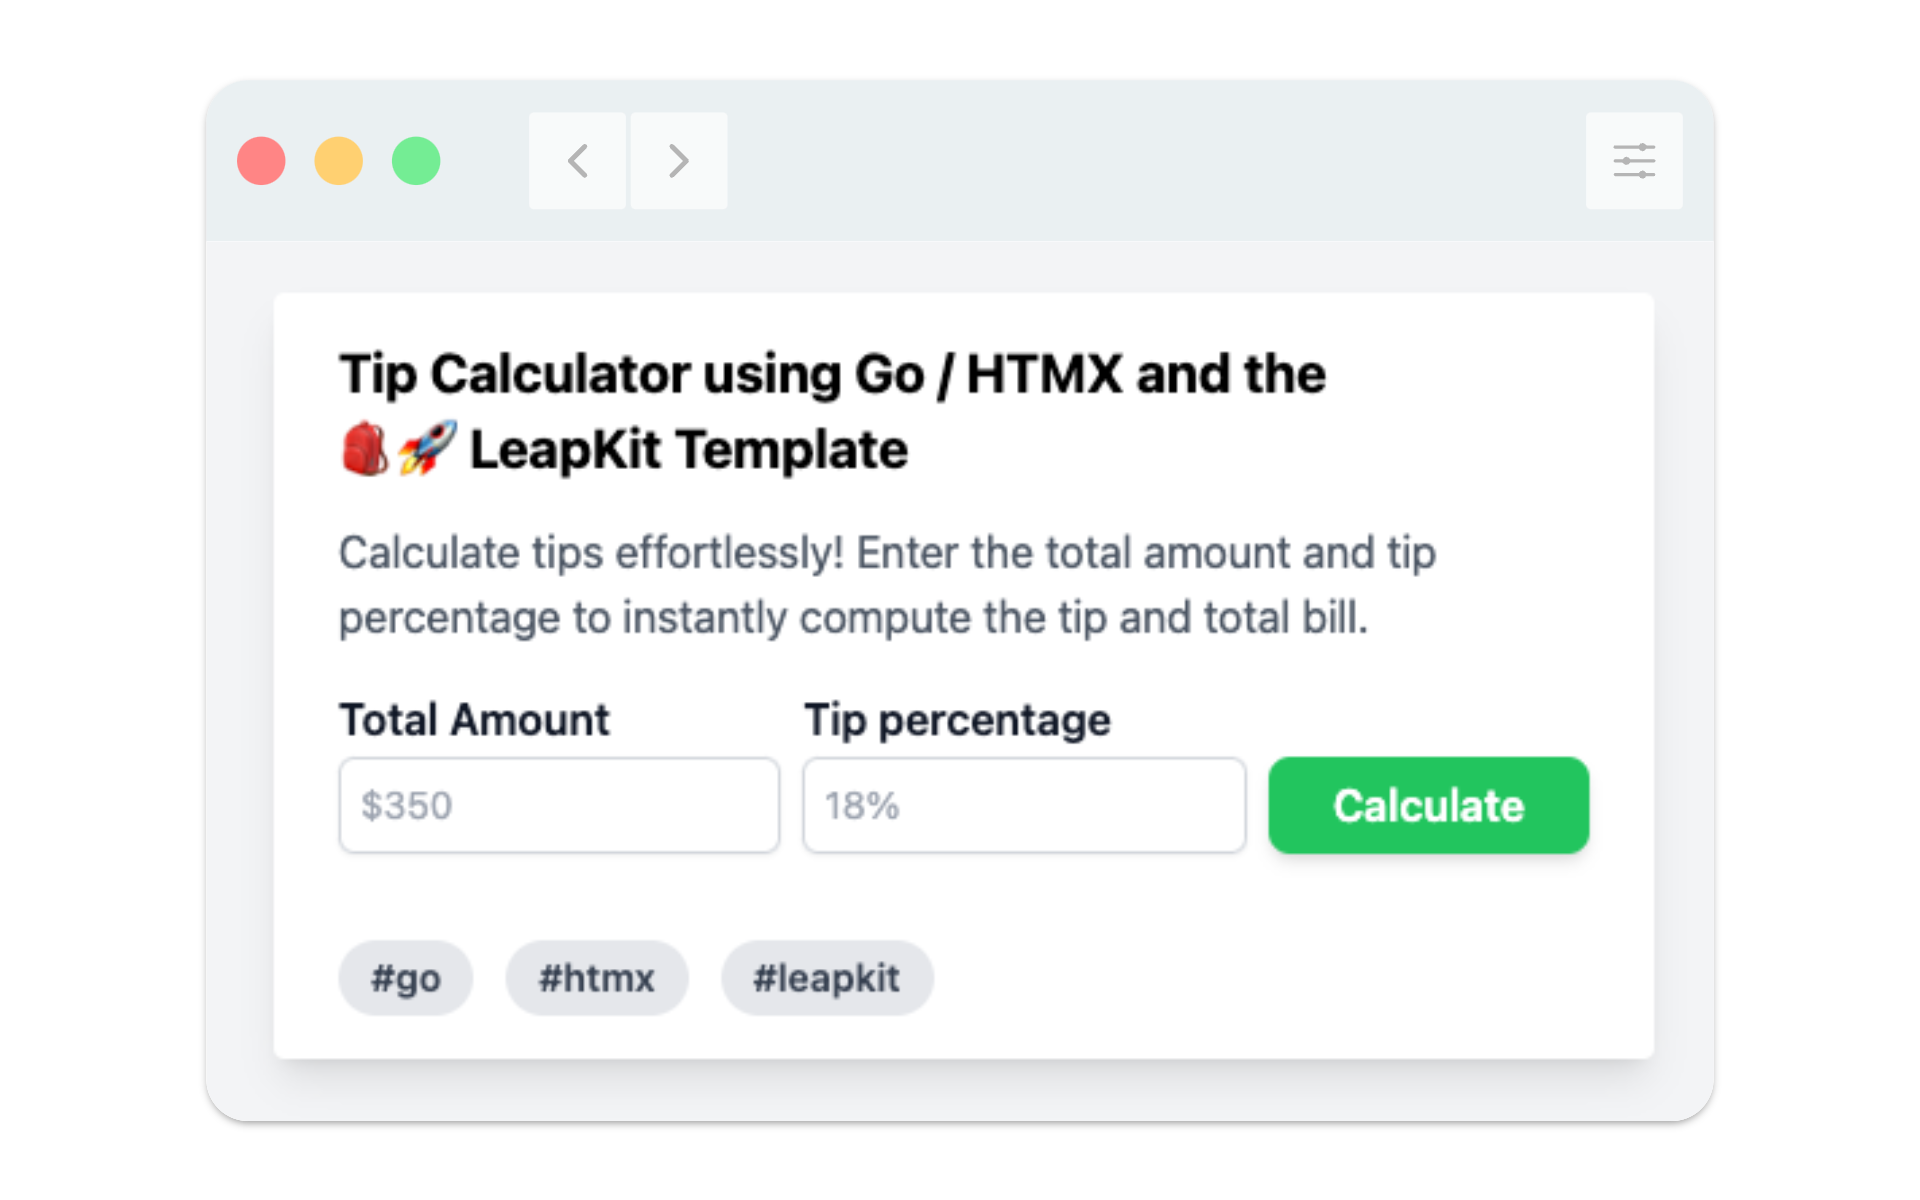
The outcome of rendering this HTML would appear as follows:
Now, let’s quickly add the /calculate-billing-amount route in internal/routes.go:
//...
r.Route("/", func(rx chi.Router) {
  rx.Get("/", home.Index)
  rx.Get("/calculate-billing-amount", total_amount.Calculate)
})
//...
In internal/total_amount/total_amount.go, let’s define our handler to receive the Amount and the Tip Percentage, calculate the Total Bill Amount, and render the value in internal/total_amount/total_amount.html:
func Calculate(w http.ResponseWriter, r *http.Request) {
  r.ParseForm()
  amount, err := strconv.ParseFloat(r.Form.Get("Amount"), 64)
  if err != nil {
    http.Error(w, err.Error(), http.StatusInternalServerError)
  }

  tipPercentage, err := strconv.ParseFloat(r.Form.Get("TipPercentage"), 64)
  if err != nil {
    http.Error(w, err.Error(), http.StatusInternalServerError)
  }

  tip := amount * (tipPercentage / 100)
  total := amount + tip

  rw := render.FromCtx(r.Context())
  rw.Set("totalBillAmount", fmt.Sprintf("$%.2f", total))

  err = rw.RenderClean("total_amount/total_amount.html")
  if err != nil {
    http.Error(w, err.Error(), http.StatusInternalServerError)
  }
}
And finally, we need to add the content into internal/total_amount/total_amount.html that will display the Total Bill Amount:
<span class="text-gray-600 flex pt-3">Your Total Bill is: <b><%= totalBillAmount %></b></span>
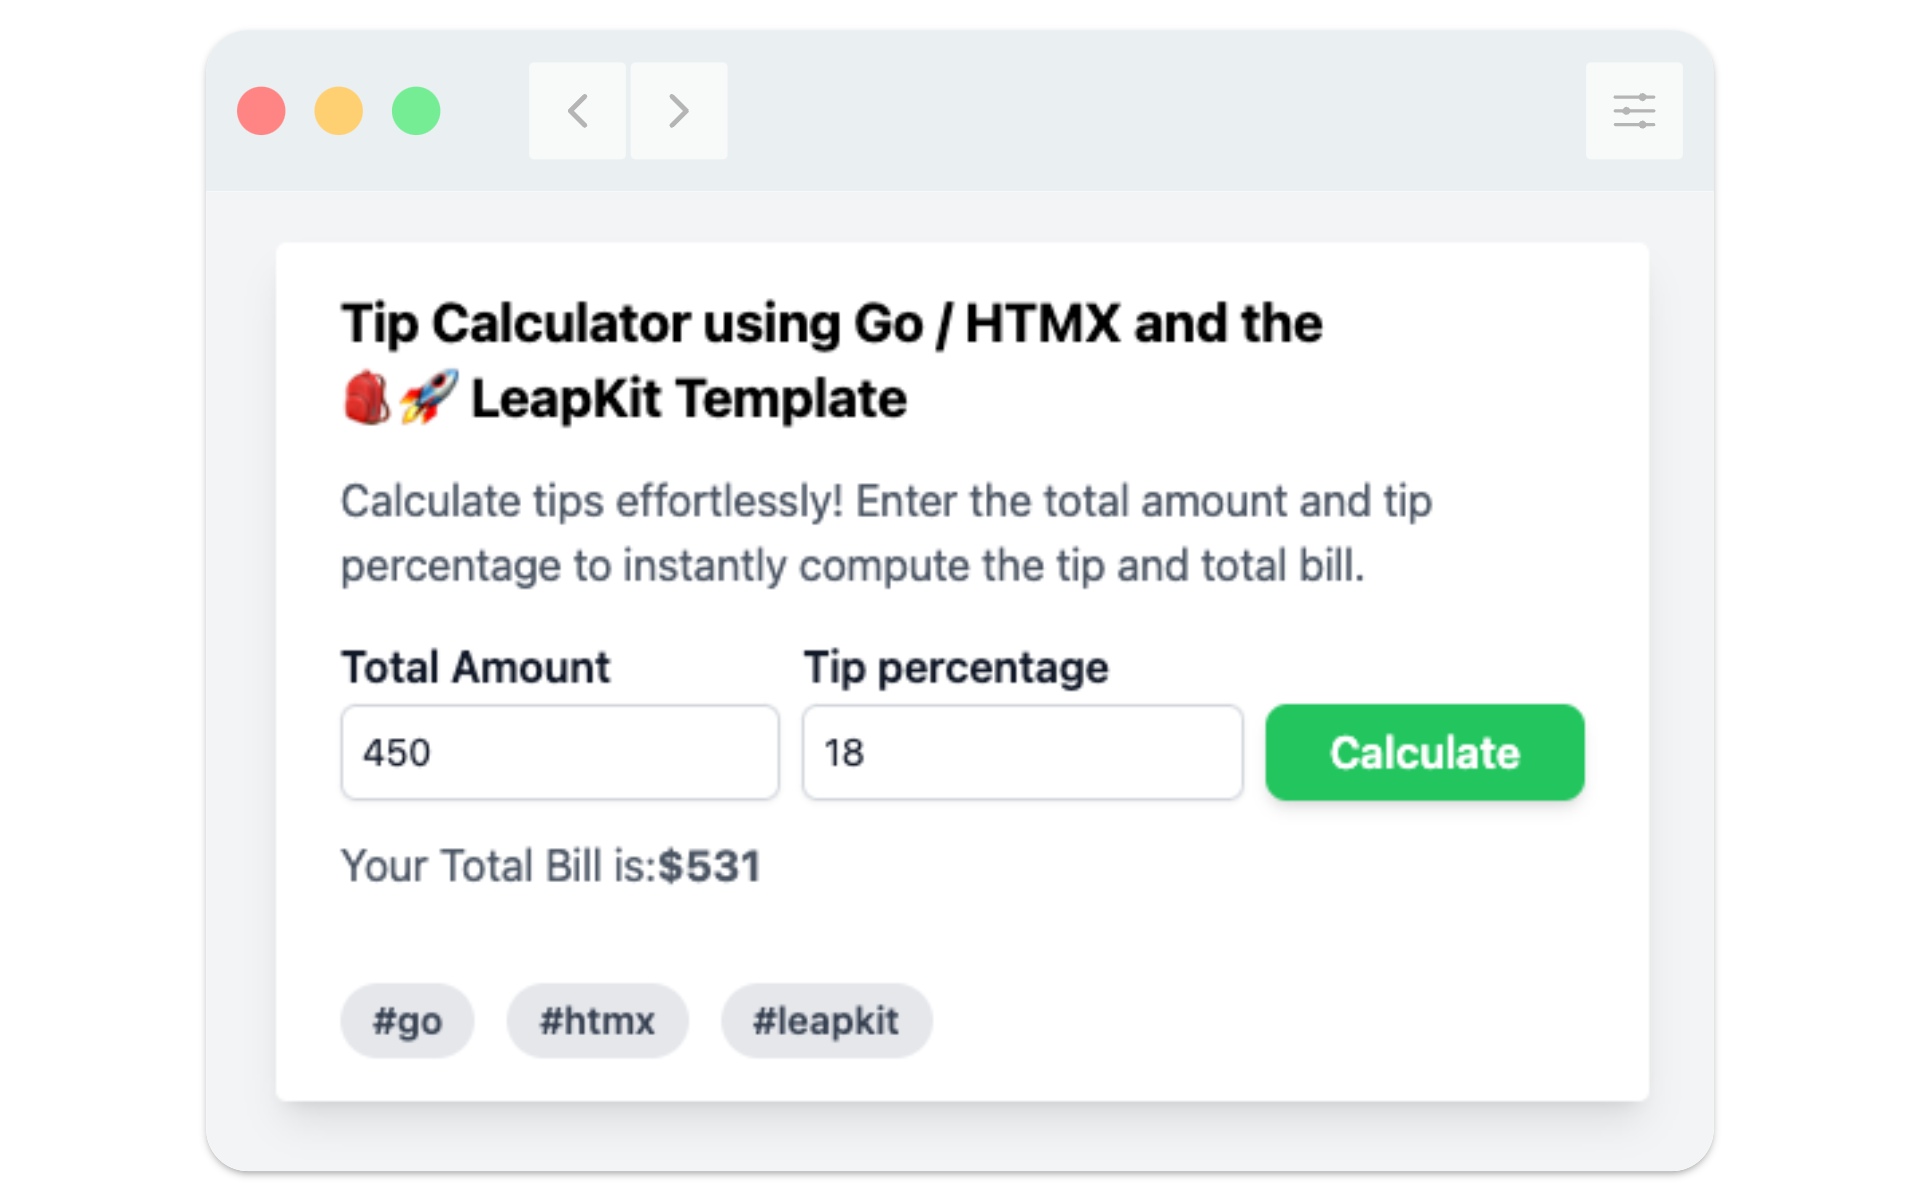
Therefore, after filling out and submitting the form, the call to /calculate-billing-amount is made, and the server returns the HTML snippet with the result, resulting in it appearing like:
Once our app is completed, let’s proceed with our deployment process.
Time to market and platform costs are critical factors in today’s competitive landscape. By containerizing our application and deploying it on Render, we streamline the deployment process and reduce infrastructure overhead, enabling developers to allocate resources efficiently and accelerate product development.
Also, Docker simplifies the deployment process by encapsulating the application and its dependencies into portable containers. LeapKit’s Dockerfile simplifies all this for us. Within the project we would have a Dockerfile looking like this:
FROM golang:1.22-alpine as builder
RUN apk --update add build-base

WORKDIR /src/app
ADD go.mod .
RUN go mod download

ADD . .
RUN go run ./cmd/build

FROM alpine
RUN apk add --no-cache tzdata ca-certificates
WORKDIR /bin/

# Copying binaries
COPY --from=builder /src/app/bin/app .

CMD /bin/app
This Dockerfile sets up a multi-stage build process, resulting in a lightweight container optimized for production deployment.
Utilizing Render, we can easily link a GitHub or Gitlab account, enabling smooth deployment of applications from any repository. Render automatically updates the project with each push to the specified branch.
To perform that, we need to create a Github or Gitlab repository and push our Tip Calculator App.
Render is a robust cloud platform for hosting and deploying applications, renowned for its simplicity, performance, and budget-friendly pricing, making it an ideal choice for startups and a viable alternative to traditional hosting solutions, offering seamless integration with Docker for containerized deployments. To deploy our Tip Calculator app using the UI of Render, we need to take the following steps:
Web Service and select Build and deploy from a Git repository.- Set an app name: tip-calculator-xyz
- Root Directory: Leave it blank
- Runtime: Docker
- Instance Type: We can choose the Free instance
- Set many Environment Variables as needed
Render will automatically build and deploy the Tip Calculator app with Docker, providing a path like: https://tip-calculator-xyz.onrender.com
In conclusion, building and deploying a Golang and HTMX application with Docker on Render, utilizing the LeapKit template, offers a seamless and efficient development and deployment experience. By embracing this approach and following this flow, software engineers can effortlessly deploy applications, empowering both startups and experienced teams to accelerate product development while maintaining performance and scalability. With these tools at our disposal, teams can confidently serve users reliably and embark on the digital ventures with great efficiency.